TREZOR WALLET ACTIVATION
Trezor.io/start
A powerful, secure, and colorful starting point for crypto self-custody.
Trezor.io/start helps you activate your Trezor wallet safely and confidently.
Cryptocurrency gives people the ability to become their own bank — but only when private keys are kept out of reach from the internet.
Many investors unknowingly leave assets exposed by relying on exchanges and online wallets.
Trezor.io/start was designed to solve this problem by introducing a secure, offline-first setup process that places ownership back into your hands from the very beginning.
Trezor.io/start was designed to solve this problem by introducing a secure, offline-first setup process that places ownership back into your hands from the very beginning.
What Happens at Trezor.io/start?
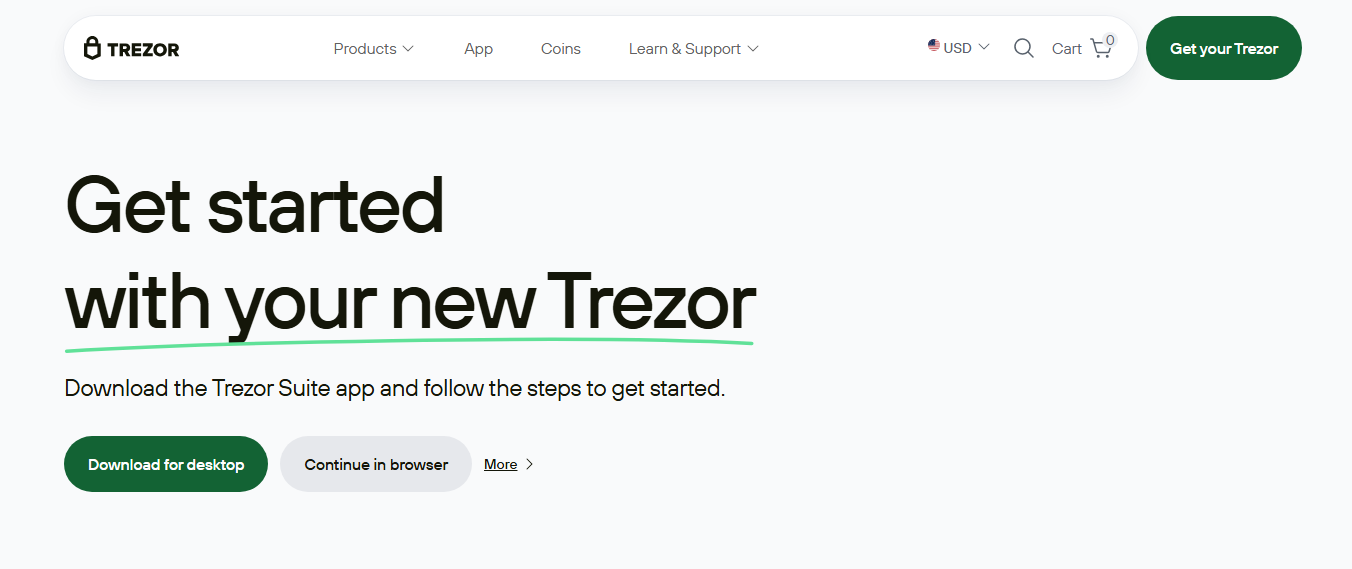
Trezor.io/start is the official onboarding gateway for Trezor hardware wallets. It ensures every new device is activated safely and correctly before any crypto is stored.
During the process, users are guided to:
During the process, users are guided to:
Confirm device authenticity and security seals
Install Trezor Suite for portfolio management
Generate a private recovery seed offline
Learn core principles of crypto security
Why Trezor Setup Is So Important
Unlike software wallets, Trezor devices operate as true cold storage. Your private keys are created and stored inside the hardware wallet, never exposed to browsers, operating systems, or malicious apps.
Even when interacting with decentralized finance platforms or signing blockchain transactions, the cryptographic approval happens within the device itself.
This dramatically reduces risks associated with:
Even when interacting with decentralized finance platforms or signing blockchain transactions, the cryptographic approval happens within the device itself.
This dramatically reduces risks associated with:
- Remote hacking attempts
- Fake wallet extensions
- Clipboard malware
- Exchange insolvency
“Security in crypto isn’t about trust — it’s about verification.”
Trezor.io/start helps you verify every step.
Trezor.io/start Setup Walkthrough
Step 1: Connect
Plug in your Trezor device and ensure it has not been previously initialized.
Plug in your Trezor device and ensure it has not been previously initialized.
Step 2: Install Suite
Use Trezor Suite to manage Bitcoin, Ethereum, tokens, NFTs, and DeFi access.
Use Trezor Suite to manage Bitcoin, Ethereum, tokens, NFTs, and DeFi access.
Step 3: Backup
Write down your recovery seed on paper and store it securely offline.
Write down your recovery seed on paper and store it securely offline.
Step 4: Confirm
Verify the recovery seed to finalize your wallet configuration.
Verify the recovery seed to finalize your wallet configuration.
Trezor Wallet vs Online Storage
| Security Factor | Trezor Wallet | Online Wallets |
|---|---|---|
| Private Key Location | Offline hardware | Internet-connected |
| User Control | Full ownership | Third-party dependent |
| Risk Exposure | Minimal | High |
Frequently Asked Questions
Is Trezor.io/start mandatory?
Yes. It ensures your device is properly verified and safely initialized.
Can I skip writing down the recovery seed?
No. The recovery seed is the only way to restore your funds if the device is lost.
Does Trezor support multiple cryptocurrencies?
Yes. Trezor supports Bitcoin, Ethereum, altcoins, tokens, NFTs, and more.
Begin Secure Ownership at Trezor.io/start
Trezor.io/start is not just a setup page — it is the foundation of responsible crypto ownership.
Protect your assets, remove third-party risk, and take full control with Trezor today.